The video production world has its own lexicon; if you work in the field long enough, you get used to the seemingly endless glossary of jargon and industry terms that get thrown around like balloons at a party. At least, I assume that’s what happens at parties. I never get invited…
But for folks new to the production world, or our awesome and incredibly attractive clients who only interface with it periodically, the filmmaking vocabulary can be confusing and exclusionary, especially in the long and sometimes arduous post production process. So let’s take a look at a few of the terms you may hear bounded about in the edit bay. Because knowledge is power, and knowing is half the battle! Or something like that. I get my philosophy and cartoon references mixed up a lot…
1: Rough Cut
While the term rough cut may sound fairly self-explanatory, it’s worth delving into as it’s likely the first time you as a client will interface with an editor or post-production team. A rough cut is the first edited version of a given video, film, or project, and it is usually the longest, least polished, and most incomplete version of said project. The point of a rough cut is to nail down the story and pace of a given piece, that’s it. And although just what the rough cut does or does not contain can vary wildly depending on the size and complexity of the project, it’s not at all uncommon for a rough to be lacking music, audio transitions, graphics or animations, or any sort of visual polish such as visual effects or color grading (see points 2 and 4 below for info on those two terms).
Put simply, the rough cut is the ugly, bare-bones foundation on top of which a great project is built. It’s like the pencil sketch underneath a great painting or the initial clay block out of a sculpture. So if you get a rough cut sent to you and think, “Oh my bad words! This is horrible!” don’t fret; it’s supposed to be horrible! And hey, how often do you get to say that about a project?
2: Visual Effects
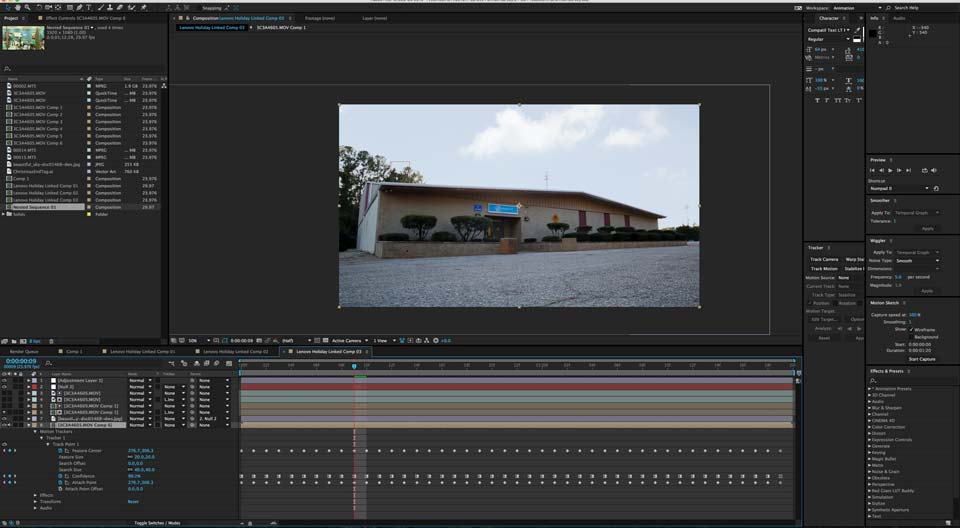
In today’s world of massive, CGI-heavy films, visual effects (or VFX for short) are an oft-talked about part of the filmmaking process. However, what’s not frequently discussed is how VFX are used on even the smallest of video projects, such as commercials or even corporate pieces.
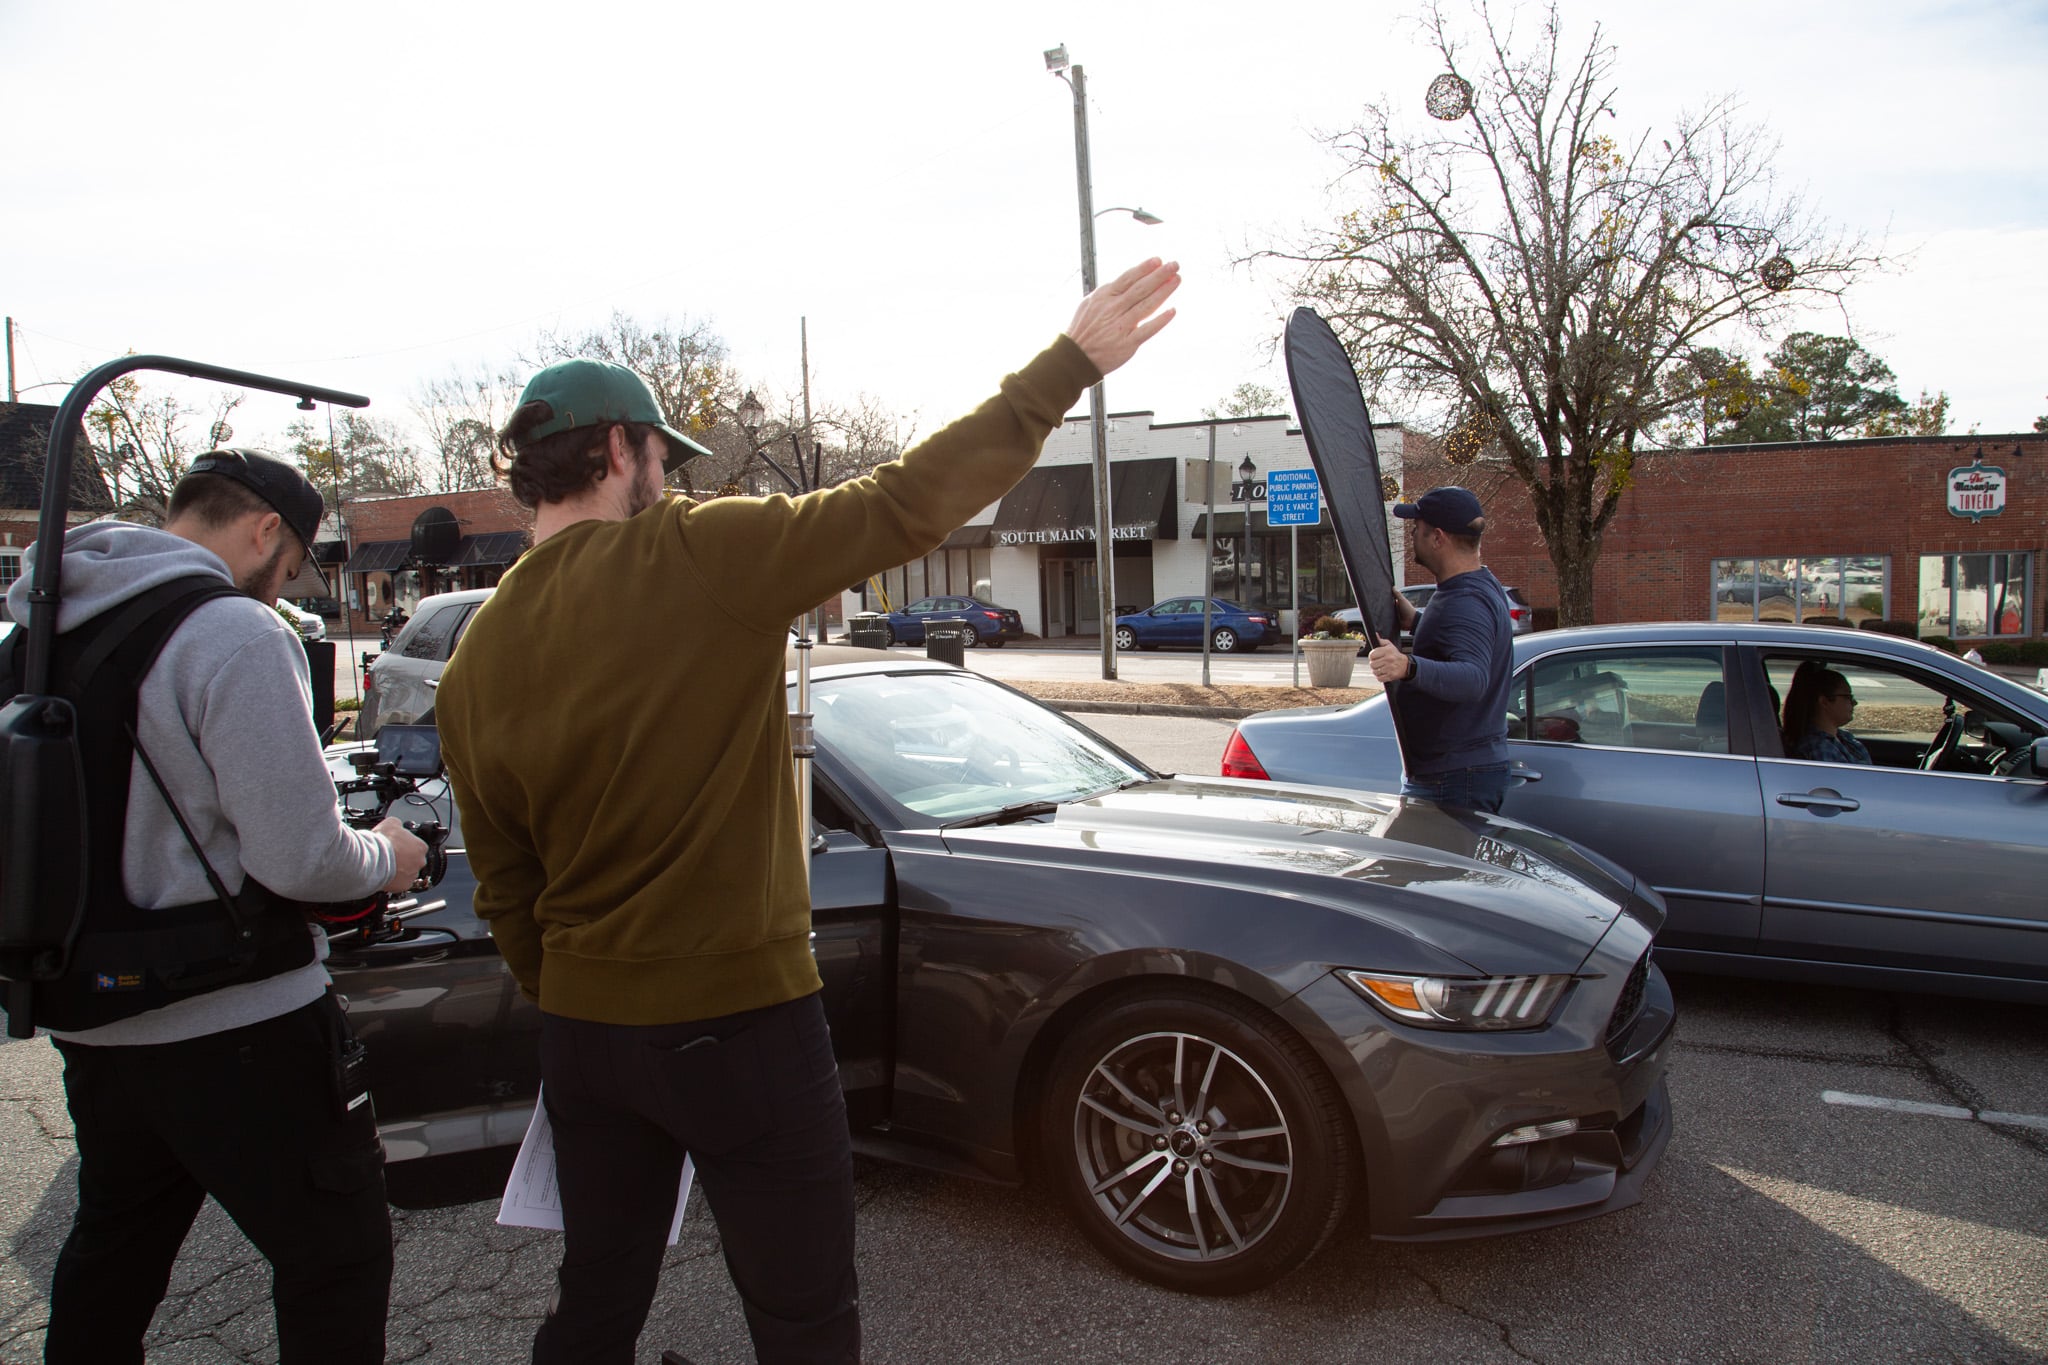
Technically speaking, a visual effect is any effect added to a project after it has been shot. This is what differentiates visual effects from special effects (which isn’t shortened to SFX because that means sound effects — see, I told you this was confusing!): a special effect is done in-camera, which is to say not in a computer. So a special effect would be blowing a car up with pyrotechnics, and the CGI robot that stepped on said car would be a visual effect. But again, VFX aren’t limited to big CGI characters. They can also be used to remove unwanted elements from a shot, such as light stands, microphones, or unwanted branding, or to add something into a shot for a certain effect — a lens flare, for example. Sometimes they’re used to do both at once, an example of which would be removing a green screen (a process known by the delightfully geeky phrase chroma keying) and adding in a desired background.
Any way you slice it, visual effects are a big part of today’s digital video production world, and you’re likely to encounter them on even the smallest of projects. Understanding the difference between visual effects and special effects is key in communicating your desires to a production team and knowing what can or can’t be done at a specific point in the process.

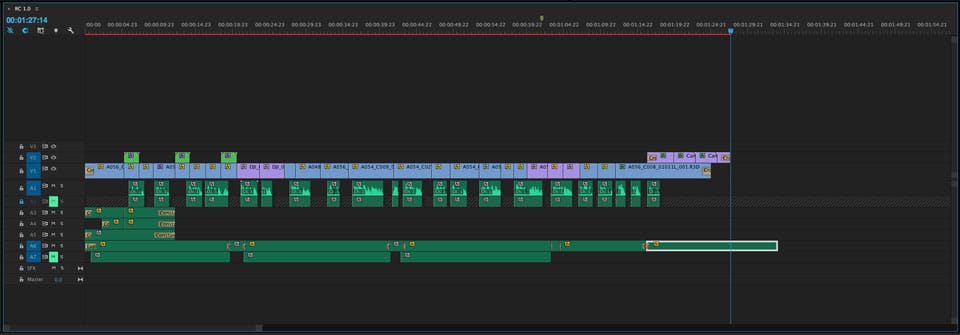
3: Picture Lock
Once you’ve made it past the rough cut stage and the post team has taken a few more cracks at the edit to make sure it’s as solid as possible, you’ll come to a point where the edit is said to have “picture lock.” This means that the specific shots in the project and the way they’re edited is approved and will not change for the duration post production. That isn’t to say they won’t be improved; we still have the color grading process to go through, and there’s a good chance there may still be some visual effects to be added or polished, but the sequence of shots and edits themselves will remain the same. If we think of our edit as building a house, at this point the walls are up, the roof’s on, and the house is basically done. All that’s left is to make it pretty.
But why is this necessary? Why can’t we continue to make changes to the edit throughout the polishing process? Well technically you could, but changing the edit at this stage would start a domino effect that would ripple through every other element of the polish, complicating the the intricate color and sound processes that are already underway. Even adjusting a small edit can potentially have a big impact as it lengthens or shortens the piece as a whole, which is disastrous as most post-production software relies heavily on timecode (a system which allows for very specific time adjustments going all the way down to single frames) in order to keep projects in sync (that is, to keep their audio married to their video) and consistent across multiple computers and technicians. Returning to our house building analogy, changing the picture at this point would be like deciding you want to knock out a foundational wall that’s already been painted and has pictures hung on it. It can be done, but not without a great deal of complication and, potentially, extra expense.
So take our word for it: Making changes after you have picture lock isn’t fun for anyone involved. Avoid it if you can!
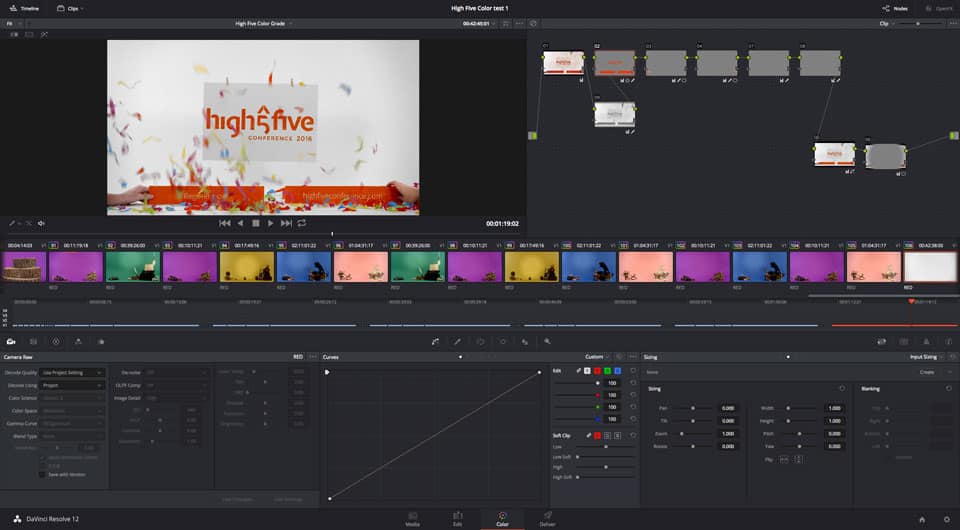
4: Color Correction / Grading
So your piece is almost done! Hurrah! The last step in the post process is to get the audio and the visuals polished up so they look and sound their best. Usually the sound and color polishing are done side by side as they don’t generally affect one another, but for our purposes here let’s look at them one at a time.
We don’t realize how much we rely on color to give us information about people and our surroundings on a daily basis. There’s a lot of research that’s been done which seems to show that color can affect our perceptions of products, how we feel about someone, or even who wins wars. Yeah, I know. Weird, right?
It’s no surprise, then, that color is one of the greatest tools filmmakers have on their belts. And though the color process for a given piece truly starts in production, more and more in today’s digital filmmaking world it is being defined in post through the processes of color correction and color grading. These two steps can be the difference in a piece feeling high-quality and professional or cheap and amatuer.
The important thing to understand when talking about color is the difference between correction and grading. Correction is the process of making sure all of the shots in a given project match visually and are properly exposed (having the correct balance of light from the darkest parts of the image to the brightest). A color grade applies a stylized look to the project as a whole. So, if a shot looks a little dark and needs to be brightened, that would be a color correction task; if you want the piece as a whole to have the warm orange tones of a western because John Wayne is awesome, that would be done through a color grade.
When communicating with a post team, understanding these differences will go a long way toward making sure you know exactly what you’re asking for and how to go about discussing it. After all, you’re dealing with us weird, fragile artsy types, and social skills aren’t exactly our hallmark.
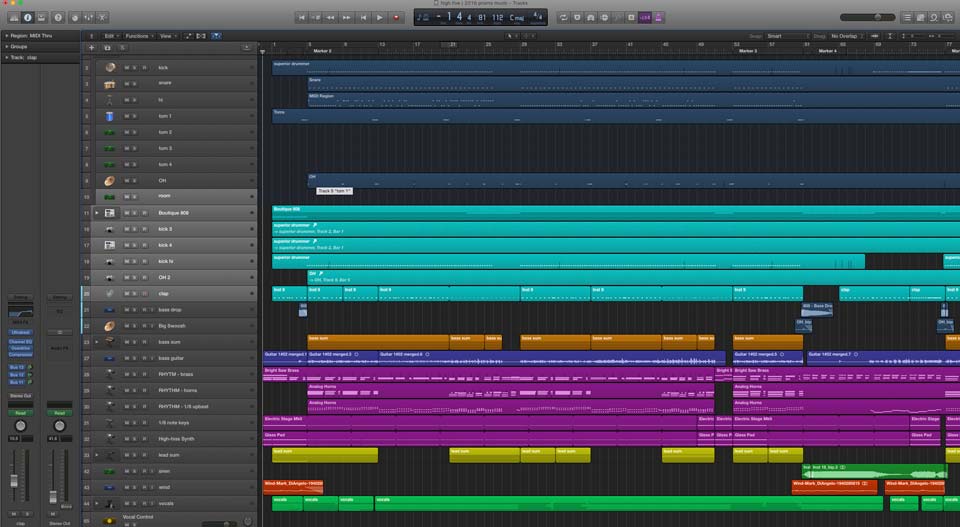
5: Sound Correction / Mixing
Just as with color, sound is an invaluable part of how an audience experiences a video or film. In fact, many filmmakers have said they would rather have great sound and poor visuals than the other way around. All you have to do is go back and watch some old silent films to see just how lacking a story feels without sound backing it up. This is why sound polishing is one of the single most important steps your project will go through in all of post production.
Also like color, sound polishing has a few different steps you need to understand. First there’s sound correction. This is where individual clips are leveled out (adjusted to an equal volume) and any unwanted sounds are removed (such as background noise or feedback from nearby electrical equipment). This gets the clips sounding their absolute best so they can then be mixed into the project as a whole. Sound mixing is a process in which all of the various sound clips and elements (such as dialog, narration, sound effects, and music) are mixed together to ensure everything can be heard appropriately throughout the project. This is also where various audio effects may be applied and processes may be performed; these additional steps help give the audio the crisp, bold sound you associate with films or television and make your project double plus awesome!
This handful of terms is just a small sample from the great buffet of jargon on which the video production industry loves to gorge itself. However, I hope they serve as a good starting point so that the next time you find yourself talking to a production team you’ll feel better equipped to communicate your desires and ideas and that this will aid you in crafting better projects and having greater production experiences. See? I told you knowledge is power!